Wednesday, June 13, 2018

How I Fixed a Lyon Chair Part 2

I continued to trim the piece of sheet metal. I used a Beverly shear to cut along the lines I sketched on the metal.

I used two different files to sand the edges of the metal leg. The first file was more coarse than the second. I used sandpaper to refine the edges.

I used the break, shear, and roll machine to bend the metal. The angle of the bend was approximately 90 degrees.

I used a body hammer to flatten the upper end of the stool leg. I attempted to straighten out the end of the leg so that it could be attached to the chair.

I used an old stool leg as a template. I continued replicating the shape of the old leg by hammering the sheet metal on different surfaces.

I hammered the lower end of the stool leg. I hammered the metal on different surfaces to duplicate the original design.

Before attaching the leg, I used sandpaper to remove the rust surrounding the corner of the stool. I used coarse sand paper to remove and flatten large metal bumps.

I used files and sandpaper to flatten and sand down the corner of the footrest. Sanding down the corner made welding the replacement leg easier.

I used clamps to hold the leg in place. I double checked my initial measurements and made sure each leg was the same length.

My teacher welded the new leg to the stool. He added welds along the footrest and the upper stool corner.

I sanded the bottom of the stool and removed a large layer of rust.

Although the new stool leg was now attached, the thinner material meant that it was still weak.


I used cardboard models to test out different ideas. I brainstormed different methods of making the stool leg stronger.

Wednesday, April 18, 2018

How I Fixed a Lyon Chair Part 1

I selected this stool and brainstormed some ideas as to how it could be repaired. The first step to fixing the stool was identifying the problem. The broken leg was made up of thinner material than that of the other legs.

In order to make the replacement leg stronger and the stool more stable as a whole, I decided to attach some extra sheet metal between the legs. The crossbeam support would work to fortify the structure.

I sanded some of the rust off of the stool and then placed the stool tightly in the vice.

The next step for the stool repair was to remove the broken leg. Afterward, I used a drill to pierce through some of the major spot-welds between the leg and the stool.

To get used to the air hammer, I cut up a couple of practice pieces.

I used the air hammer to detach a majority of the broken leg from the rest of the stool. The air hammer allowed me to break through many of the minor spot-welds that kept the leg attached.


I clamped down the stool and turned on the air hammer. I used the air hammer to remove the residual material from the worn-down stool leg.

 I cut and trimmed an old piece of sheet metal using a Beverley shear until it was two inches wide.

I then used the brake, shear, and roll machine to bend the piece of metal in half.


I hammered the piece of metal on an anvil to try to replicate the shape of the lower end of the stool legs. The scrap metal served as a practice piece.

I was now ready to move onto creating the replacement leg. I made a cardboard replica of the stool's legs to guide me as I cut through the large sheet of metal.

 I used air shears to cut roughly around the cardboard model.

With the Beverly shear I trimmed the piece of metal until it roughly resembled the other stool legs' dimensions. 

Friday, December 29, 2017

How I Learned to Use a Spot Welder

Before learning how to use a spot welder, I had to learn how to cut sheet metal.

I used a shear to try to achieve a smooth, clean cut. I held the shear steadily and used the table for leverage to cut the sheet metal.

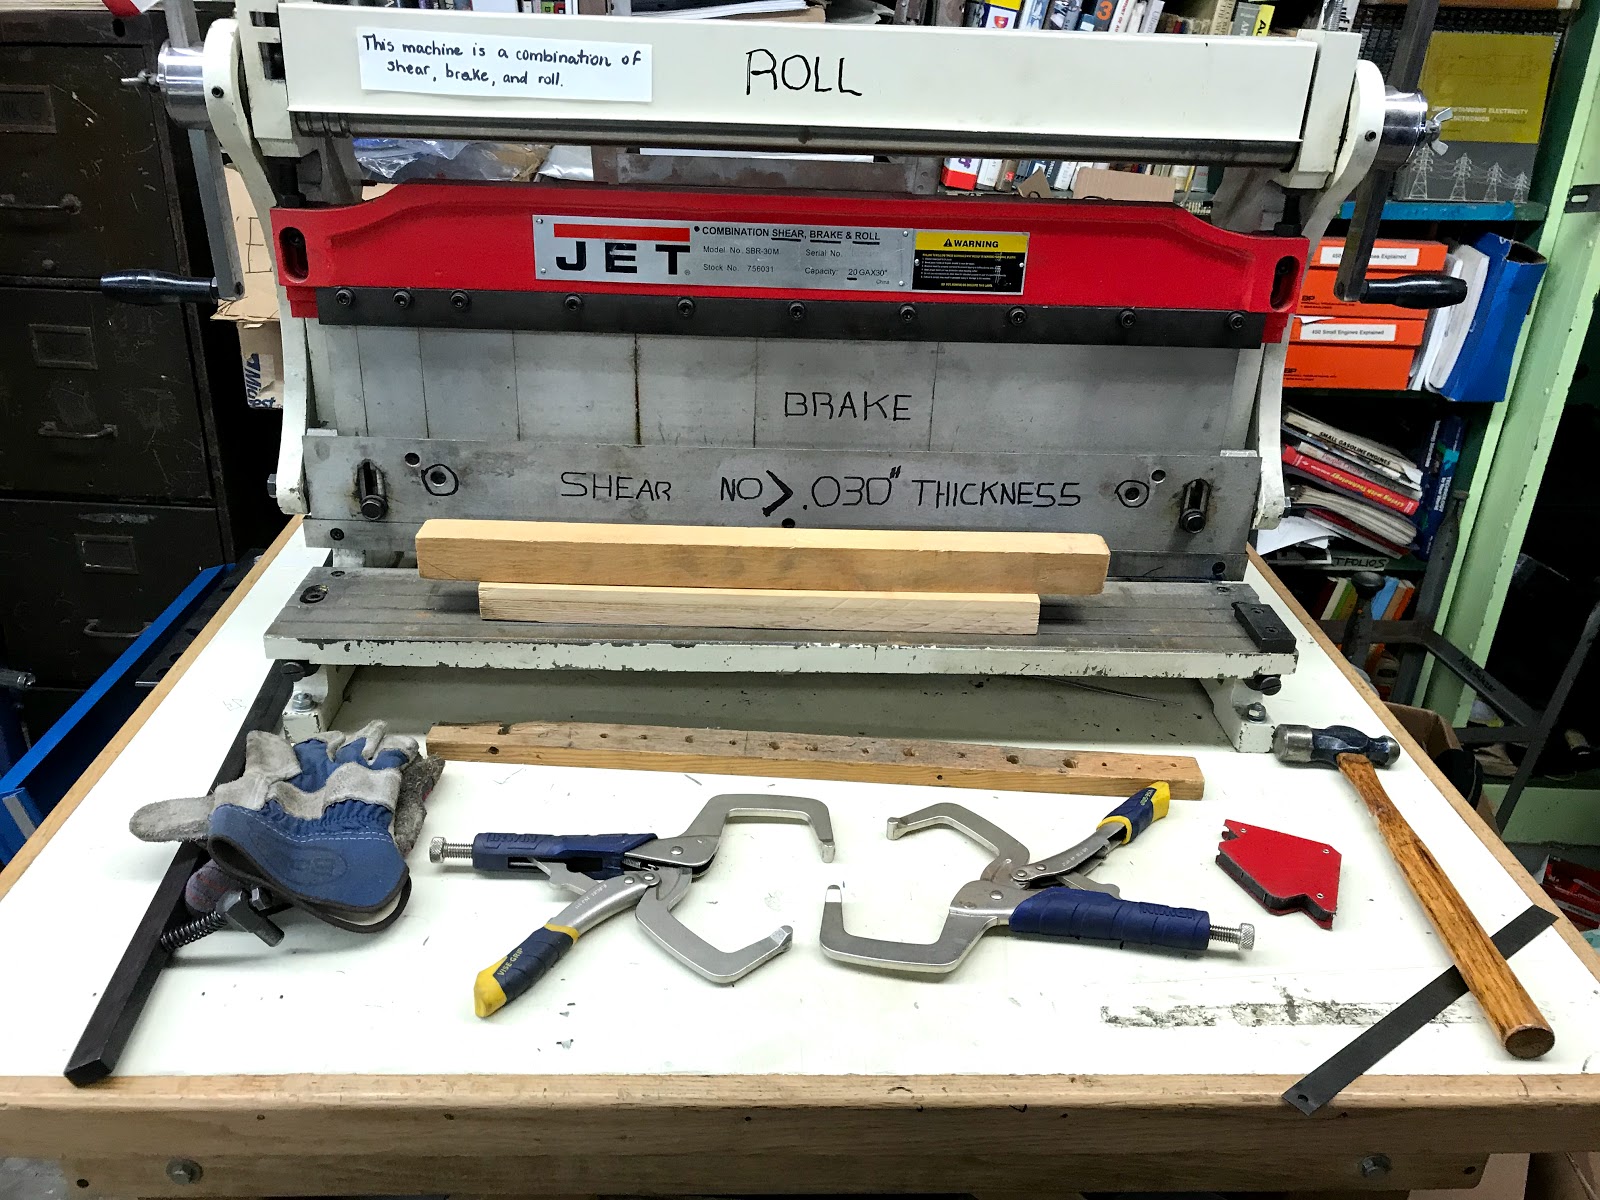
Using the shear, brake, and roll machine was another method of cutting pieces of sheet metal.

To use the spot welder I needed sheet metal to weld.

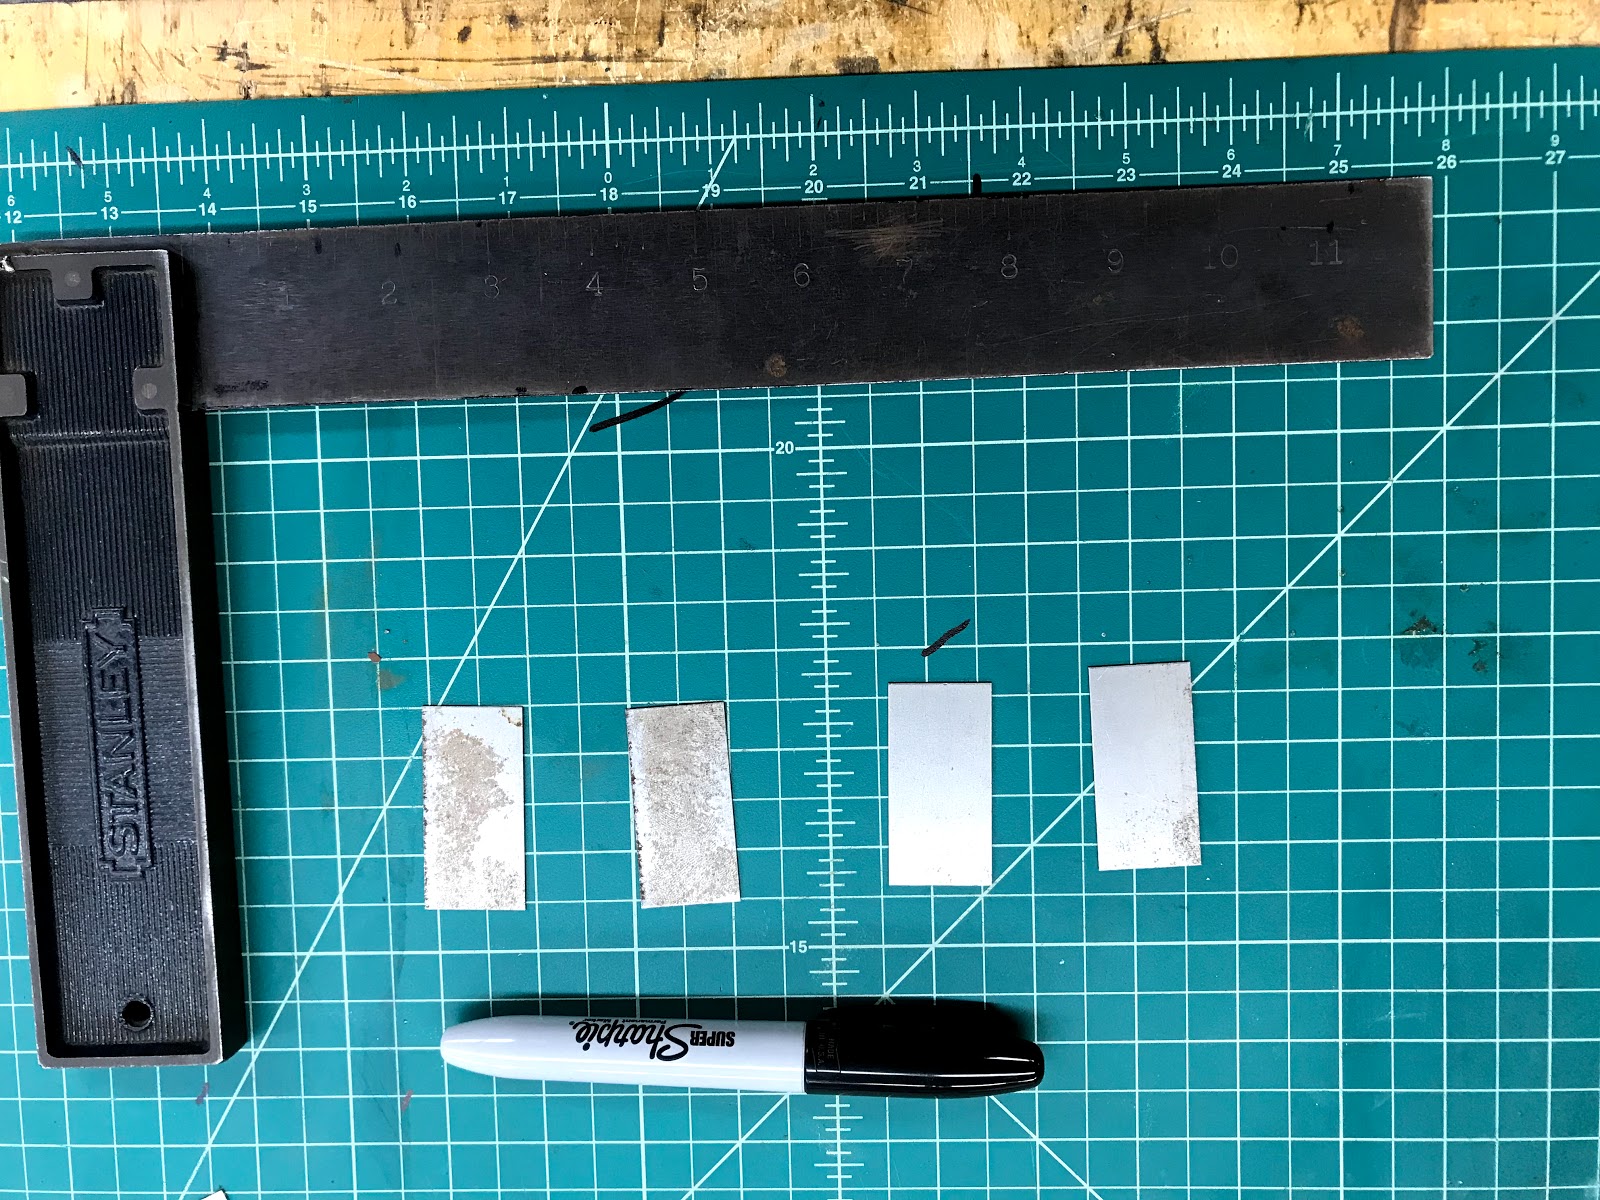
I used a tri-square and a marker to draw rectangles that were one inch wide by two inches long.

I cut along the lines on the sheet metal using the shear, roll, and brake machine.


I used the same machine to bend each piece of sheet metal at an approximate 90-degree angle.

Before spot welding, I used sandpaper to clean the outside of the sheet metal. Rust and stains yield weaker welds.

A fellow classmate demonstrated how to use a spot welder. To use a spot welder you must wear safety goggles and leather gloves. The machine sparks when it is activated.

I used and held the spot welder at different times. The numbers on each piece of welded sheet metal represent how long, in seconds, the spot welder heated the pieces together.

My classmates and I pulled apart the welded pieces of sheet metal. We did this to test the strength of each weld. As the heating period reached seven seconds, the weld grew stronger.

I continued welding more pieces of sheet metal and increased the heating period. However, heating the metal for too long only burnt the metal. I was told by my instructor, Mr. Grosinger, that nine seconds was way too long and past the machine's limitations.

The weld grew stronger. I was unable to find the point in time (length of heating period) at which the sheet metal joints begin to weaken.

Saturday, December 2, 2017

How to Make a Handmade Flashlight

These are the three phases involved in making a handmade flashlight. You can choose to make your own battery or purchase one in a store.

To make your own penny battery you'll need pennies, cardboard, salt, and water.

Pennies produced after 1985 contain zinc and copper. To find the zinc you can sand off the tails side of your pennies.

Wet the pieces of cardboard and soak them in salt and water.

If you stack all the pieces together correctly, your penny battery should generate some voltage.

A large stack of pennies is enough to power an LED. The LED I used required 0.3 volts of energy.

The next phase involves making a circuit. Incorporating a switch into your circuit will allow you to turn the LED on and off at will. If you wish to use AA batteries, you can tape them together or use a battery holder.

To attach different wires to your circuit you can simply strip the ends of the wires and twist them together. I recommend using a soldering iron to solder the joints where the wires meet for a stronger bond.


To begin your circuit, attach a wire to the cathode and anode of the LED. Solder the wires to the LED. Be sure to tape the wires together. The LED is fragile! You can use shrink tubes to fortify the joints.

To conclude Phase 2, attach your switch and battery to the LED. I found electric tape very efficient and useful. If you attach all the components correctly you should end up with an operational flashlight.


Carrying around a circuit when you need a flashlight isn't practical. The third phase of the project involves building a protective apparatus to hold your circuit. You can be as creative as you'd like.

The final step is to see if your flashlight can survive a 5-foot drop.