To make your own penny battery you'll need pennies, cardboard, salt, and water.
Pennies produced after 1985 contain zinc and copper. To find the zinc you can sand off the tails side of your pennies.
Wet the pieces of cardboard and soak them in salt and water.
If you stack all the pieces together correctly, your penny battery should generate some voltage.
A large stack of pennies is enough to power an LED. The LED I used required 0.3 volts of energy.
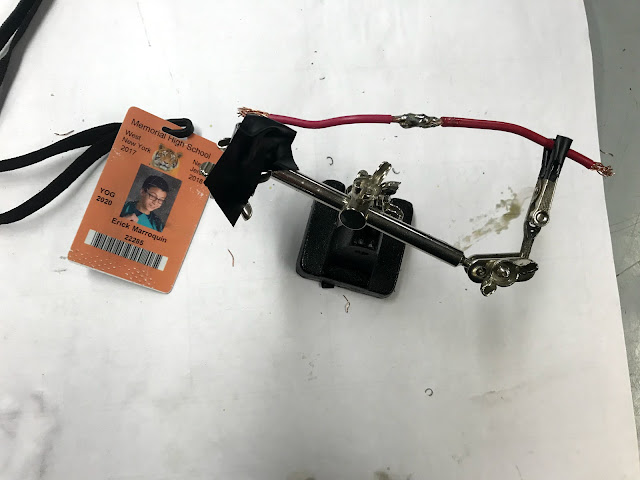
To attach different wires to your circuit you can simply strip the ends of the wires and twist them together. I recommend using a soldering iron to solder the joints where the wires meet for a stronger bond.
To conclude Phase 2, attach your switch and battery to the LED. I found electric tape very efficient and useful. If you attach all the components correctly you should end up with an operational flashlight.
Carrying around a circuit when you need a flashlight isn't practical. The third phase of the project involves building a protective apparatus to hold your circuit. You can be as creative as you'd like.


No comments:
Post a Comment