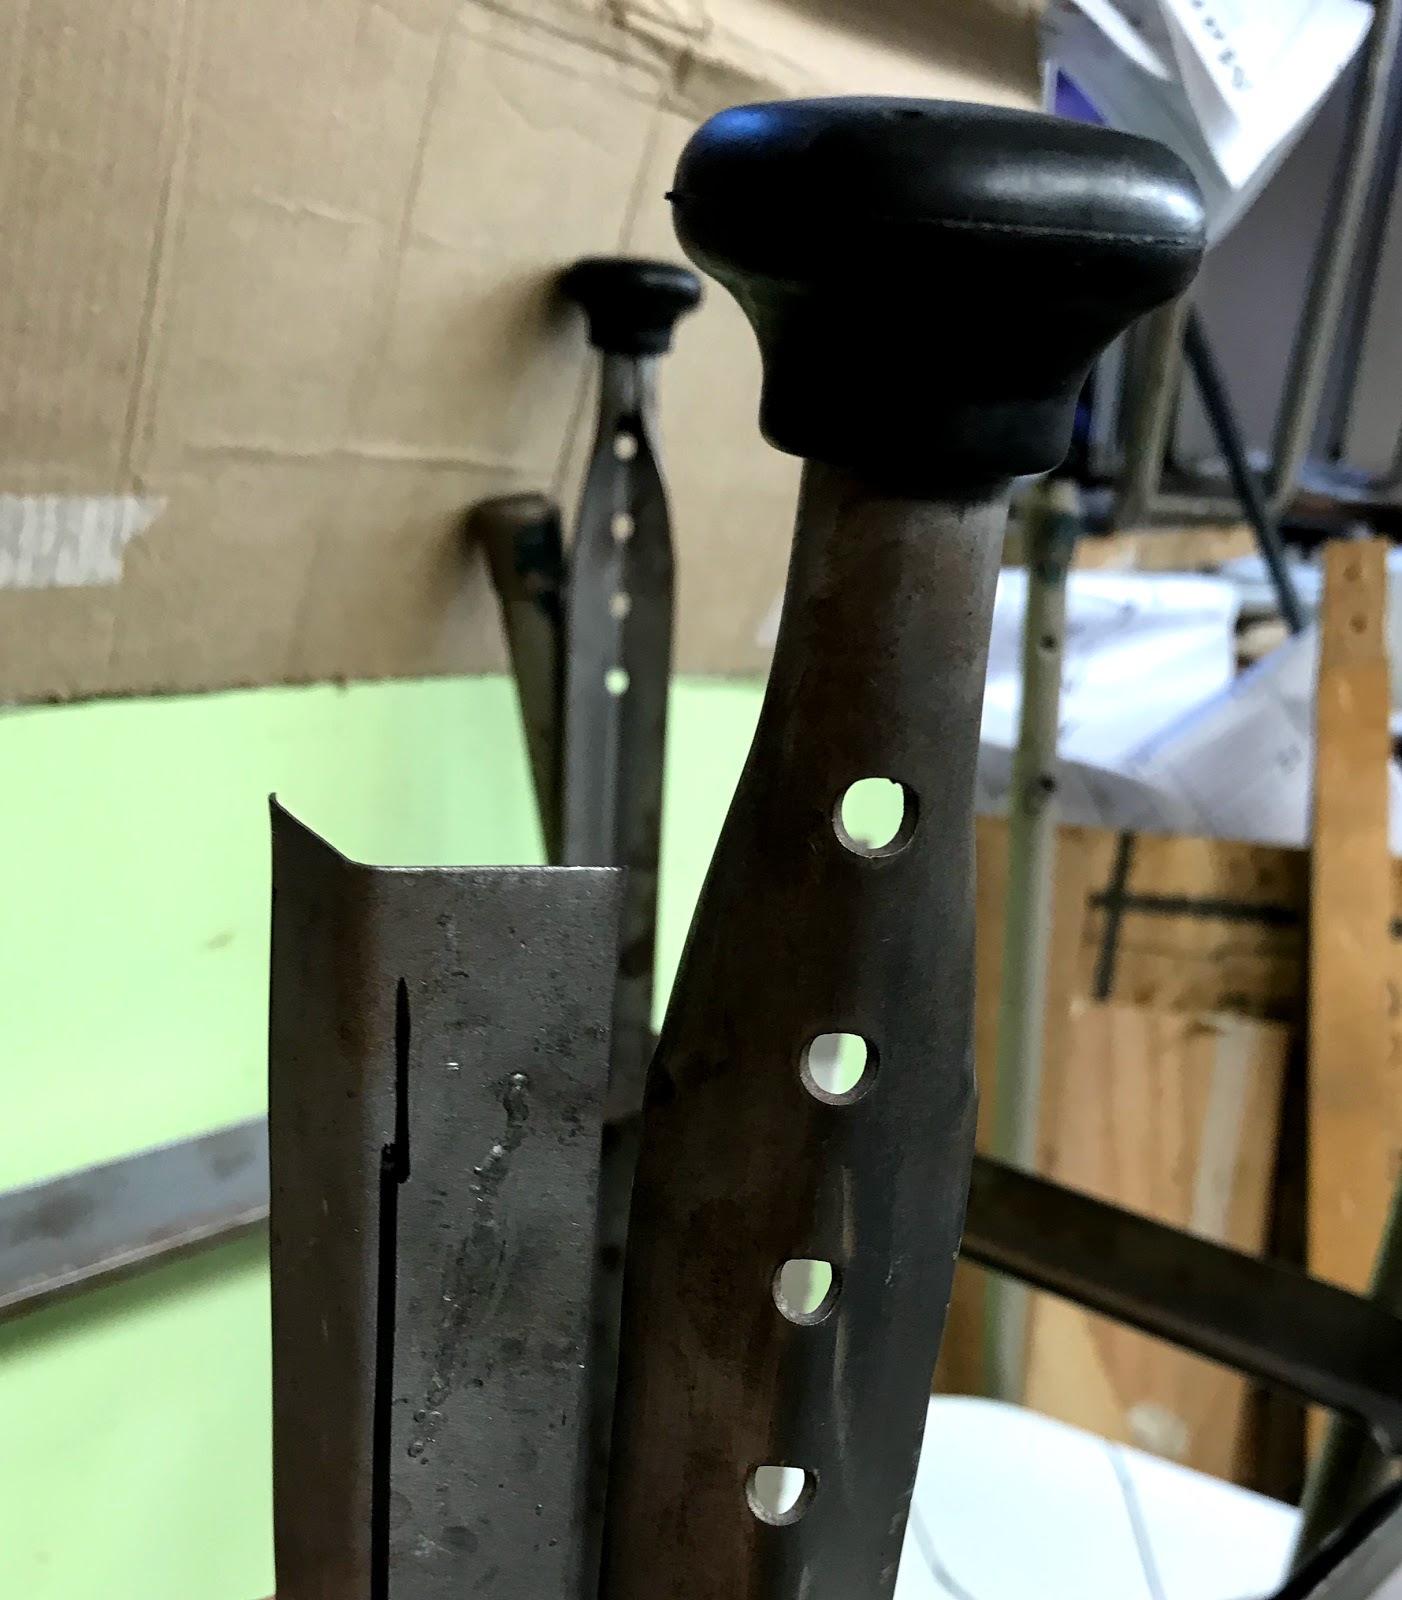
I selected this stool and brainstormed some ideas as to how it could be repaired. The first step to fixing the stool was identifying the problem. The broken leg was made up of thinner material than that of the other legs.
In order to make the replacement leg stronger and the stool more stable as a whole, I decided to attach some extra sheet metal between the legs. The crossbeam support would work to fortify the structure.
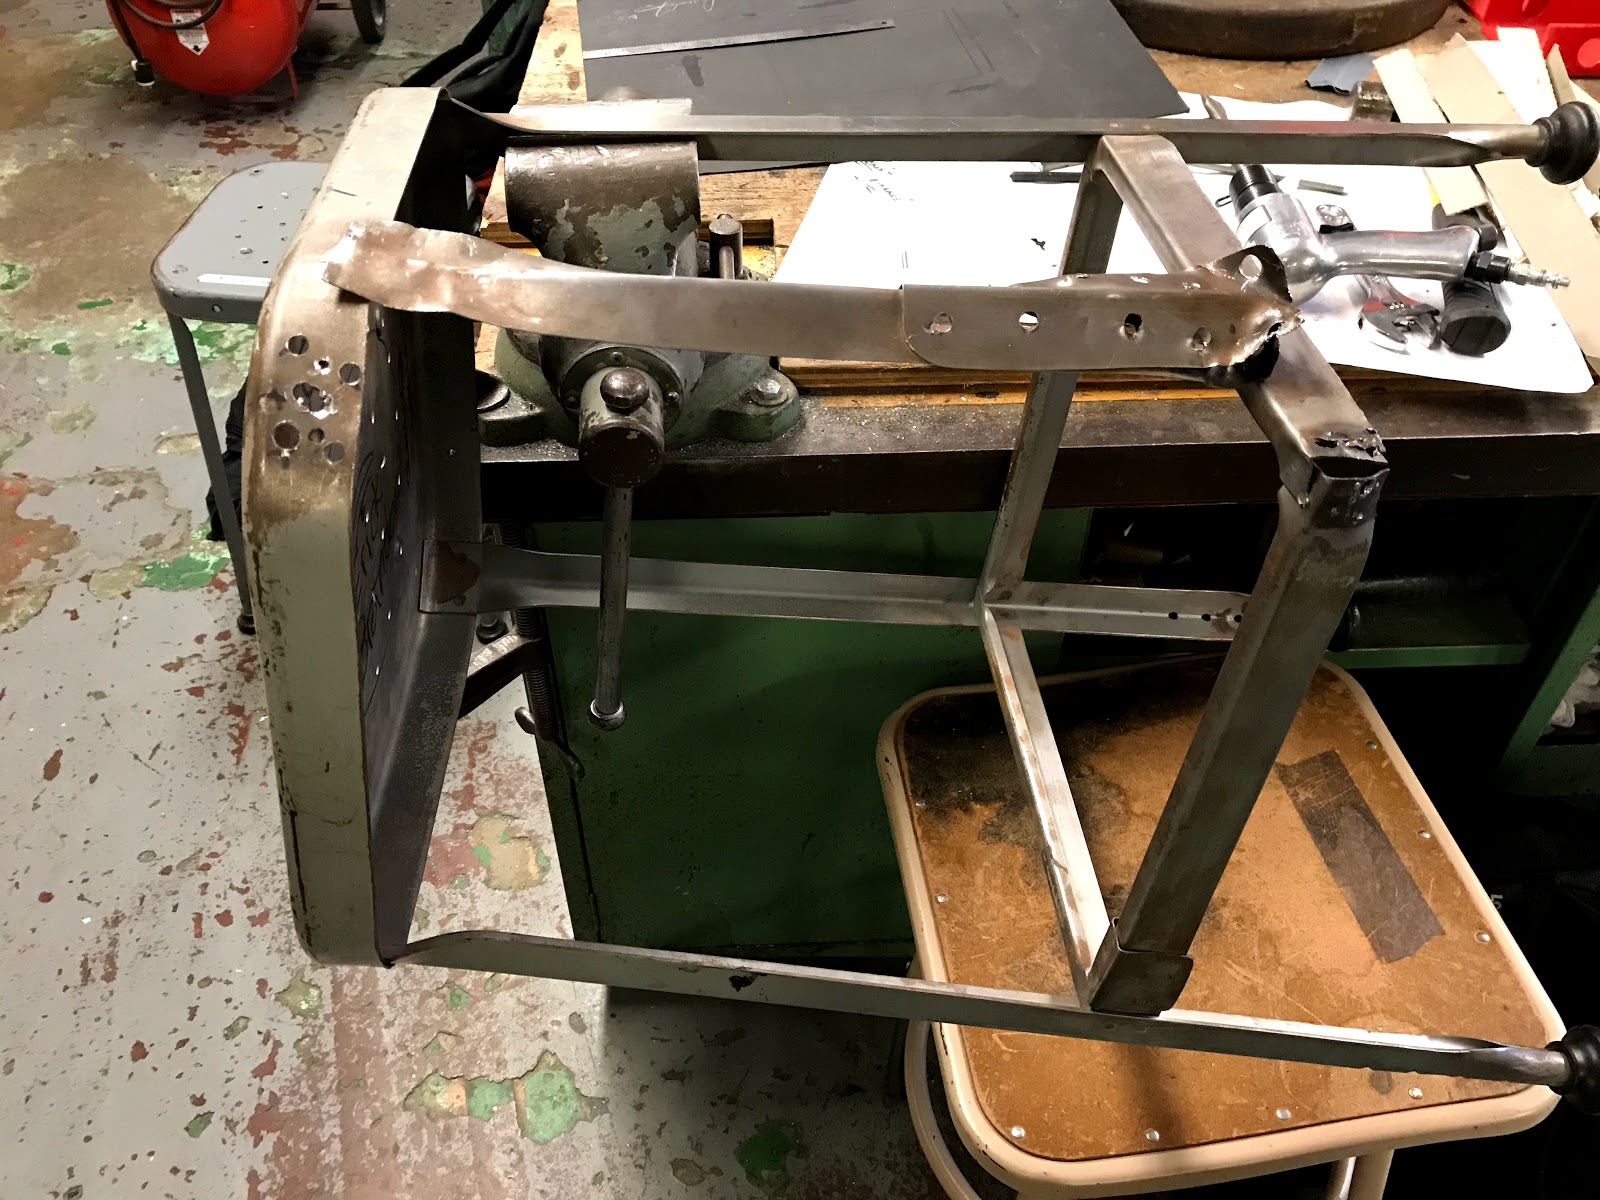
I sanded some of the rust off of the stool and then placed the stool tightly in the vice.
The next step for the stool repair was to remove the broken leg. Afterward, I used a drill to pierce through some of the major spot-welds between the leg and the stool.
To get used to the air hammer, I cut up a couple of practice pieces.
I used the air hammer to detach a majority of the broken leg from the rest of the stool. The air hammer allowed me to break through many of the minor spot-welds that kept the leg attached.
I clamped down the stool and turned on the air hammer. I used the air hammer to remove the residual material from the worn-down stool leg.
I cut and trimmed an old piece of sheet metal using a Beverley shear until it was two inches wide.
I then used the brake, shear, and roll machine to bend the piece of metal in half.
I hammered the piece of metal on an anvil to try to replicate the shape of the lower end of the stool legs. The scrap metal served as a practice piece.
I was now ready to move onto creating the replacement leg. I made a cardboard replica of the stool's legs to guide me as I cut through the large sheet of metal.
I used air shears to cut roughly around the cardboard model.
With the Beverly shear I trimmed the piece of metal until it roughly resembled the other stool legs' dimensions.


No comments:
Post a Comment